People typically associate vinyl flooring with faded floral-printed vinyl sheet kitchen floors; however, luxury vinyl plank (LVP) offers a more realistic wood grain appearance and feel than its counterparts.
LVP floors differ from traditional vinyl installations in that they don’t require glue, making replacing damaged planks much simpler.
Dented or Gouged Planks
If your vinyl plank floor has suffered minor dents or gouges that aren’t too deep, they may be repairable using furniture marker or color-matched putty.
Be sure to thoroughly clean the area where there is damage to remove any dirt or debris that might obstruct repairs as you attempt them.
Purchase putty explicitly designed for use with vinyl flooring in a color that closely resembles your floor and apply it directly to any divots or dent, using a plastic putty knife if necessary to remove excess. Allow the putty to set according to any instructions included with it.
If the problem stems from excessive moisture or temperature changes, dehumidifiers or curtains to block direct sunlight could help restore its original state. But, if that fails to do the trick, replacing affected planks may be necessary.
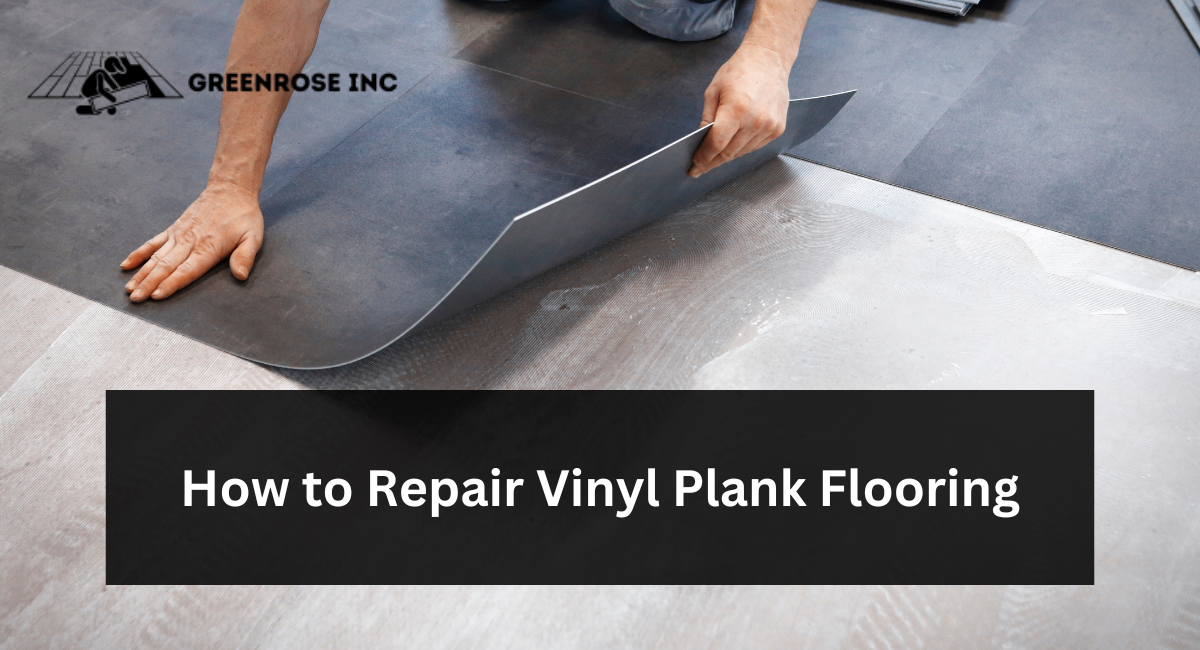
When replacing damaged planks, begin at an adjacent wall or edge and carefully lift one side until you can uncouple them without creating further issues like gapping or buckling. Place a new plank over top of it, pushing it down until it clicks into place securely.
Cupped Planks
At some point, vinyl planks will show signs of wear and tear. One telltale indicator of this wear and tear is when glue around the edges curls away, making your floor unattractive and leading to dirt build-up underneath them. If you leave this issue unchecked, it could deteriorate rapidly and require replacement.
There are several simple solutions to fixing cupped planks. Start by using medium-grit sandpaper to remove excess material at the edge, followed by filler putty that matches your floor color to fill and smooth out holes and smooth them over.
Finally, select an adhesive tape in a similar hue so your repairs will blend seamlessly into the rest of your floor’s structure.
Another way to address this problem is to add furniture pads or felt under each piece, helping reduce impactful pieces from damaging vinyl flooring over time. This will also protect it from being damaged further in the future.
If your vinyl plank floor features click-and-lock functionality, replacing damaged planks should be much more straightforward. Simply use an electric heat gun to soften and warm the adhesive underneath.
After removing the old plank, add LLF-approved glue along the locking edges of the new plank and secure it into place as soon as you set it in its position to ensure optimal security.
Gaps Between Planks
Gaps in vinyl plank flooring are unsightly and can also allow cold air into the subfloor and cause severe damage. Gaps may form due to natural wear and tear or improper installation; these gaps can be repaired with putty or caulking specifically made for LVP flooring products available from DIY stores and construction stores.
First, vacuum and clean the area where the gap exists. Remove any transition strips separating dissimilar floor materials to ensure dirt-free floors if it is located at a doorway to another room. Also, ensure any old glue has been completely removed from the gap.
Cut caulking or putty tubes so their tip precisely matches the size of the gap; place this caulking/putty at its intended spot with firm pressure applied as you press hard against it with a plastic putty knife to remove excess.
Once the gap has been filled, allow caulking or putty to dry according to product instructions. Allowing enough time will allow it to bond fully with vinyl planks for a robust and permanent repair. After it has been set up, vacuum the area again to remove any remaining dust or debris.
Pop-Up Planks
Vinyl plank floors may seem straightforward, but their proper installation and care require knowledge of their construction. Humidity levels or physical movements over time could cause humidity levels or physical shifts to shift one plank away from another, leaving an open gap between them – something more likely to occur on click-lock installations but which may also happen with adhesive installations.
This issue can be easily solved. First, vacuum the area to clear away dirt and dust between gaps. Next, use a rubber mallet to gently tap one plank toward another until closing any gaps; repeat on both ends until all holes have been eliminated.
If the gap arises from failed glue, fixing it can be more complex. In such instances, it is wise to contact a flooring or plumbing professional, as they can pinpoint its source and offer the appropriate advice.
Peaking is a common issue when installing LVP planks without leaving enough room between each other during installation, often caused by moisture or sunlight causing expansion and pushing against neighboring planks.
To prevent this problem from recurring, leave enough space when installing your floor and lay weights over uneven areas overnight or for several days to even out any irregularities.
Conclusion:
In concluding our guide on how to repair vinyl plank flooring, it’s evident that minor damages can be quickly addressed with simple solutions, preserving your floors’ integrity and aesthetic appeal.
Whether dealing with scratches, dents, or issues with seams, a proactive and timely approach to repairs ensures the longevity of your vinyl plank flooring.
Remember, the key lies in understanding the nature of the damage and selecting the appropriate method for a seamless restoration.