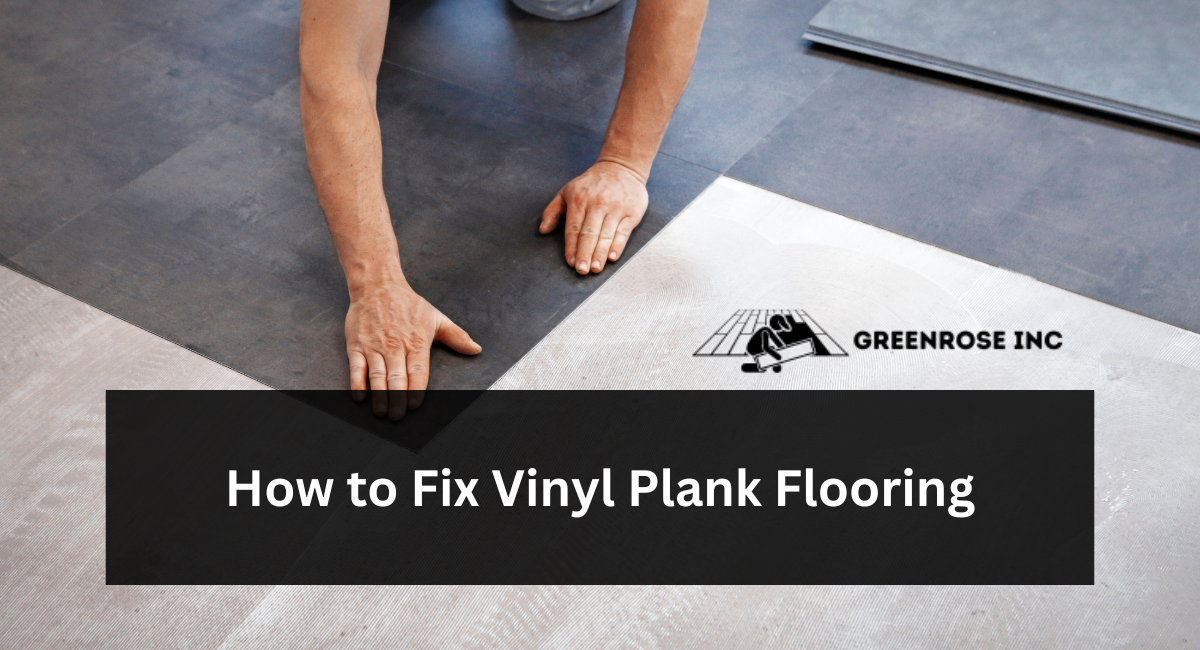
Vinyl plank flooring is durable and easy to maintain, yet may still show signs of wear over time. Luckily, there are ways to address this problem so your floors will appear as though they were brand new again.
Minor scratches can be filled using furniture repair markers or pens the same color as your LVP floor, while deeper ones needing patching can be filled in with filler putty that complements it.
Removing Damaged Planks
Scratches on flooring surfaces are unavoidable, whether from furniture, pets, or high heels. Taking off shoes at the entrance and installing protective pads under chairs and sofas are effective ways of preventing scratches from happening, but occasionally, one will appear.
One of the simplest and fastest ways to fix scratches on a floor surface is by replacing damaged planks. To do this, begin by taking steps such as removing all surrounding planks to access the damaged area, after which clean and vacuum the floor thoroughly to remove debris.
Next, purchase color-matched putty explicitly made for vinyl flooring and wash the dented or gouged plank until its surface is clean and even. Apply the putty and wait 24 hours until dry before sanding.
Suppose your vinyl flooring is click-lock or self-adhesive to replace a plank. In that case, you must first remove its lock on both long and short sides before applying a scant bead of cyanoacrylate adhesive to all groove sides around the repair and inserting the replacement plank using a rubber mallet and pressing down securely with it firmly before cleaning off any excess glue with a lint-free cloth immediately. Allow this repair to set for 24 hours before resuming regular foot traffic.
Filling Gaps
New floors can be an expensive investment, so it is wise to make sure it remains looking its best as long as possible. Unfortunately, even relatively new vinyl plank floors may show signs of wear and cracks or gaps over time. However, there are several easy solutions to these problems.
Gaps in vinyl plank flooring can usually be remedied by reapplying adhesive that holds it all together. You will require high-quality glue explicitly designed for vinyl floors and a putty knife to do this. First, ensure the area where the glue is free of dirt or debris before spreading a thin layer using your putty knife to spread evenly.
Caulking can also help fill smaller gaps, providing the ideal solution for gapped vinyl planks that have yet to begin buckling. Once applied, scrape off any excess and paint it to match your vinyl plank’s color; this method works great if there has not been cupping.
However, once cupping occurs due to moisture or temperature fluctuations, it must be replaced immediately, indicating poor installation practices.
Replacing Damaged Planks
Vinyl plank flooring may seem less complex than some alternatives on the market, but it will still show signs of wear and tear or begin buckling over time if neglected.
Luckily, this issue can be remedied quickly without professional installers being necessary – providing another cost savings opportunity!
Step one of this project should be clearing and decluttering your working area. Step two requires heating the area with an electric heat gun to soften any adhesive holding the old plank in place, followed by using your fingers or wood chisels to lift and raise gently.
Be careful not to damage its tongue; otherwise, it will make installation of new pieces difficult.
Once your new plank is in place, use putty or caulk explicitly designed for vinyl flooring that matches the color of the existing floor as closely as possible.
Run a plastic putty knife along the gap edge to smooth it and ensure no excess caulking or putty spots on the plank itself – or use furniture repair markers that correspond with its color for further customization!
Repairing Cracks
Vinyl plank floors may seem resilient at first glance, yet they can be susceptible to cracking due to various causes. Direct sunlight exposure may discolor over time, and frequent foot traffic or heavy furniture could weaken its adhesive bonds.
Temperature fluctuations also affect the material, expanding and contracting as temperatures change.
As soon as a plank begins to crack, it must be addressed immediately to prevent further damage. Depending on its cause and origin, vinyl putty explicitly designed for that material could provide a solution – available at flooring or home improvement stores and easily applied according to manufacturer instructions.
Gaps between vinyl planks can also be easily remedied. If your floors are floating, use a turkey baster or similar plunge-type injector to apply to caulk specially designed for vinyl flooring between the floor and wall – be sure to match its color to ensure a seamless look!
If your vinyl plank floors are adhered, you should scrape away any excess glue seeping out from any cracks, then apply a thick layer of new vinyl adhesive. When dry, place a replacement plank over it and secure it with a rubber mallet.
Conclusion:
In conclusion, mastering the art of repairing vinyl plank flooring empowers homeowners to address common issues, from scratches to buckling, and extend the life and appeal of their floors.
By following appropriate techniques, choosing suitable materials, and understanding the nature of the problem, you can confidently navigate the process of fixing vinyl plank flooring.
Proactive maintenance ensures your vinyl floors remain resilient and visually pleasing, whether it’s a quick DIY solution or a more involved repair.

